第一步,安装PHPUnit
最简单的方式莫过于到PHPUnit的官网下载PHPUnit,然后把那个下载了的phpunit.phar加到PATH中。
此外,还可以通过 pear 来安装phpunit:
pear clear-cache
pear channel-discover pear.phpunit.de
pear channel-discover components.ez.no
pear channel-discover pear.symfony-project.com
pear install -a -f  phpunit/PHPUnit
参考:http://www.cnblogs.com/wanfox/p/4613517.html
然而使用 pear 安装方式,我却是没有成功!大概是因为天朝的神奇的GFW吧!
补记:还能通过composer来安装:
composer require phpunit/phpunit
第二步,下载Selenium Standalone Server
传送门:http://docs.seleniumhq.org/download/
传送门2: https://selenium-release.storage.googleapis.com/index.html?path=2.48/
下载下来一般是一个selenium-server-standalone-2.48.2.jar这样的文件(版本号可能会有所更新)。
第三步,下载WebDriver for Chrome
传送门: https://sites.google.com/a/chromium.org/chromedriver/downloads
这个要根据电脑是Windows、Linux还是MAC,来下载相应的驱动,并解压缩。
补记:如下载不了,还可以到百度云下载 http://pan.baidu.com/s/1mirOYIc
第四步,启动Server
前面两步的东西都下载好了,就可以启动这个server了:
# 假设1:已经装了java, 而且将java加到了PATH中
# 假设2:前面两步下载的东东都在当前目录下
java -jar selenium-server-standalone-2.42.2.jar -Dwebdriver.chrome.driver=./chromedriver
p.s. 对于Windows的用户,后面的./chromedriver需要修改为.\chromedriver.exe
补记:对于从百度云上下载的用户,直接双击start-server.bat即可运行
第四步,下载PHP的WebDriver封装库
本人喜欢使用Facebook出品的这个库.
这个库可以直接用composer加载: composer require facebook/webdriver
鉴于composer在国内的悲惨现状,还是直接下载zip包,然后自行加载吧。
下面是我常用的自动加载器:
// file: tests/bootstrap.PHP

call_user_func(function(){
    $namespaces = array(
        'Facebook\WebDriver' =>  __DIR__.'/../PHP-webdriver/lib',
    );

    spl_autoload_register(function($class) use ($namespaces){
        $class = ltrim($class, '\\');
        foreach ($namespaces as $ns => $dir) {
            if (strncmp($class, $ns, strlen($ns)) === 0){
                $file = str_replace('\\', DIRECTORY_SEPARATOR, $dir . DIRECTORY_SEPARATOR . ltrim(substr($class, strlen($ns)), '\\')) . '.PHP';
                if (is_file($file)){
                    include_once($file);
                }
            }
        }
    });
});
这个自动加载器可以放到bootstrap.PHP中,以便phpunit跑用例前加载。
第五步,编写一个简单的测试用例
下面这个测试用例测试下百度是否能正常打开,检查百度的标题和URL是否符合预期。
// file: tests/sample/BaiduTest.PHP

class BaiduTest extends PHPUnit_Framework_TestCase
{
    public function testTheTitleUrl()
    {

        // 创建一个浏览器
        $browser = create_browser();

        // 打开百度
        $browser->get('https://www.baidu.com/');

        // 检查下标题
        $this->assertEquals('百度一下,你就知道', $browser->getTitle());

        // 检查下URL
        $this->assertEquals('https://www.baidu.com/', $browser->getCurrentURL());

        // 搜索"Hello"
        $keywordInput = $browser->findElement(By::id('kw'));
        $this->assertNotEmpty($keywordInput);
        $keywordInput->sendKeys('Hello');

        $searchBtn = $browser->findElement(By::id('su'));
        $this->assertNotEmpty($searchBtn);

        $searchBtn->click();

        // 等待结果
        $browser->wait()->until(Expect::titleContains('Hello'));

        // 检查结果
        $keywordInput = $browser->findElement(By::id('kw'));
        $this->assertNotEmpty($keywordInput);
        $this->assertEquals('Hello', $keywordInput->getAttribute('value'));

        // 为了演示,留个时间看看结果
        sleep(3);

        // 关闭浏览器
        $browser->quit();
    }
}
注意:文件名和类名要以Test结尾,而其中的测试函数要以test开头,这样子方便phpunit查找测试用例。
此外,其中create_browser是放在bootstrap.PHP中的一个辅助函数:
use Facebook\WebDriver\Remote\DesiredCapabilities;
use Facebook\WebDriver\Remote\RemoteWebDriver;

/**
 * @return RemoteWebDriver
 */
function create_browser(){
    return RemoteWebDriver::create('http://localhost:4444/wd/hub',
                                    DesiredCapabilities::chrome(),
                                    5000);
}
第六步,跑一下测试用例试试
phpunit --bootstrap tests/bootstrap.PHP tests/sample/BaiduTest.PHP

Nice~ 成功跑通~
最后,用phpunit.xml定义测试套,跑起来更便捷~
老是敲那么一长串的命令也挺麻烦的,要是能像make一样只要敲一个make就搞定就好了 —— phpunit刚好提供了一个phpunit.xml让我们能定义常用的测试套之类的选项。
详细的介绍在官方文档中已经很详细了,我这里就不啰嗦了。只秀个我认为较为简洁有效的配置:
<?xml version="1.0" encoding="UTF-8"?>
<phpunit
        backupGlobals               = "false"
        backupStaticAttributes      = "false"
        colors                      = "true"
        convertErrorsToExceptions   = "true"
        convertNoticesToExceptions  = "true"
        convertWarningsToExceptions = "true"
        processIsolation            = "false"
        stopOnFailure               = "false"
        syntaxCheck                 = "false"
        bootstrap                   = "tests/bootstrap.PHP" >

    <testsuites>
        <testsuite>
            <directory>tests/sample</directory>
        </testsuite>
        <!-- ... -->
    </testsuites>
</phpunit>
把上述内容写入phpunit.xml中后,跑phpunit就变得非常简单了,一个phpunit就搞定了: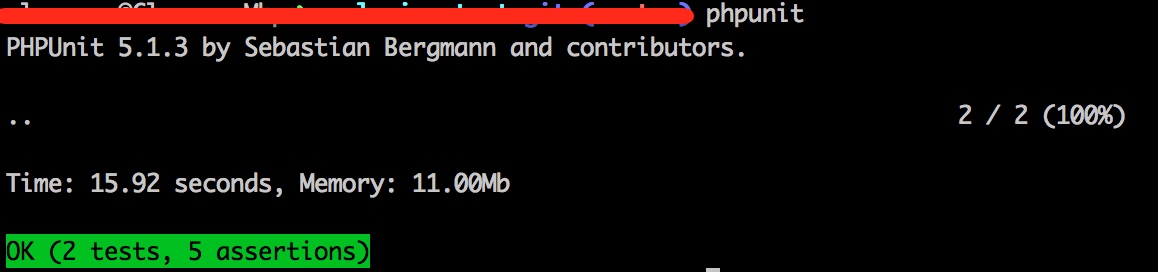
Well done. 收工~
另附完整的示例代码: http://pan.baidu.com/s/1mirOYIc


